Step 1: Push a vehicle to point of sale
- Navigate to vehicle tracking > vehicle availability
- Open any progress after In Production and before Registered
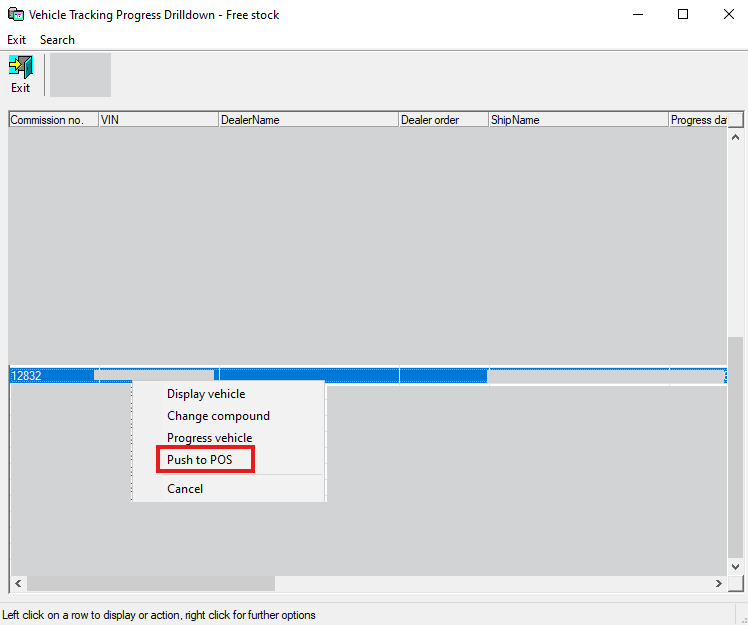
- Right click on the vehicle you want to push, click on Push to POS
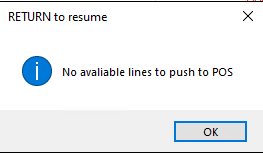
- If there is no option on the vehicle with a menu code linked or it has already been pushed to point of sale, there will be a popup stating that there are no lines to push.
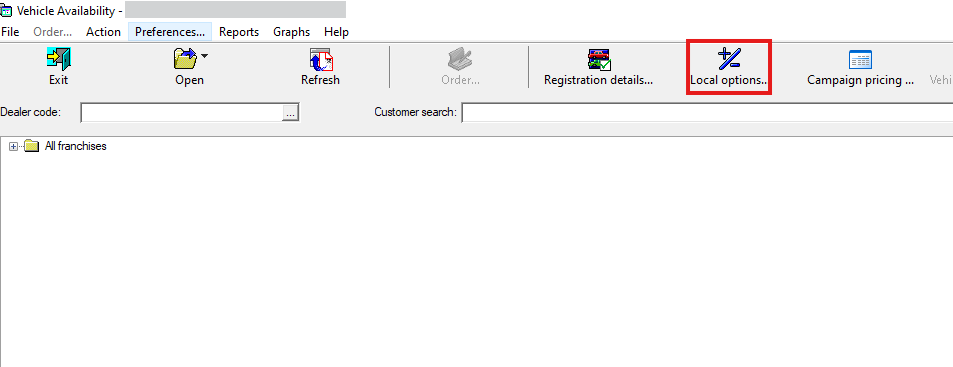
- If you need to add an option onto the vehicle, navigate to Local options
- Type in the VIN, Chassis or Case number
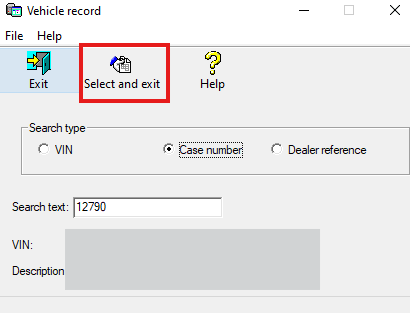
- Type the letter of the option type and TAB, then add the option on. Save and exit.
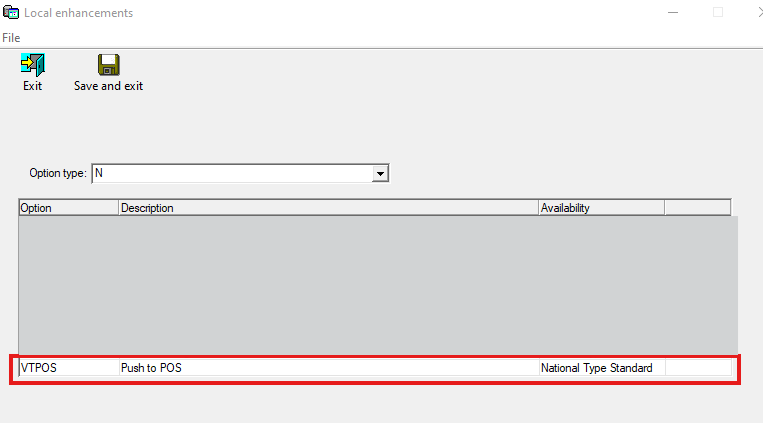
- Exit out of VT, navigate back to the vehicle and push the line again, there should be no error.
Step 2: Create the wip in point of sale
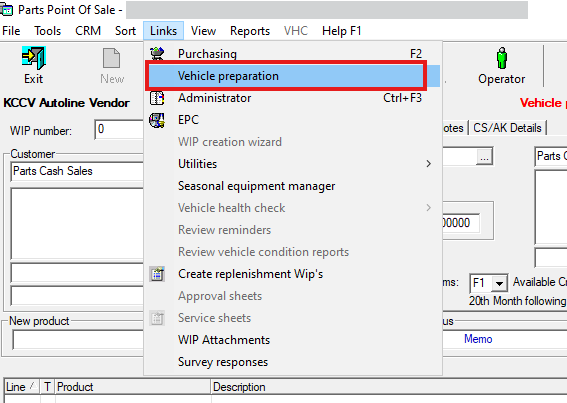
- Navigate to point of sale > Links > Vehicle preparation
- Click on the vehicle line that was pushed and create the WIP
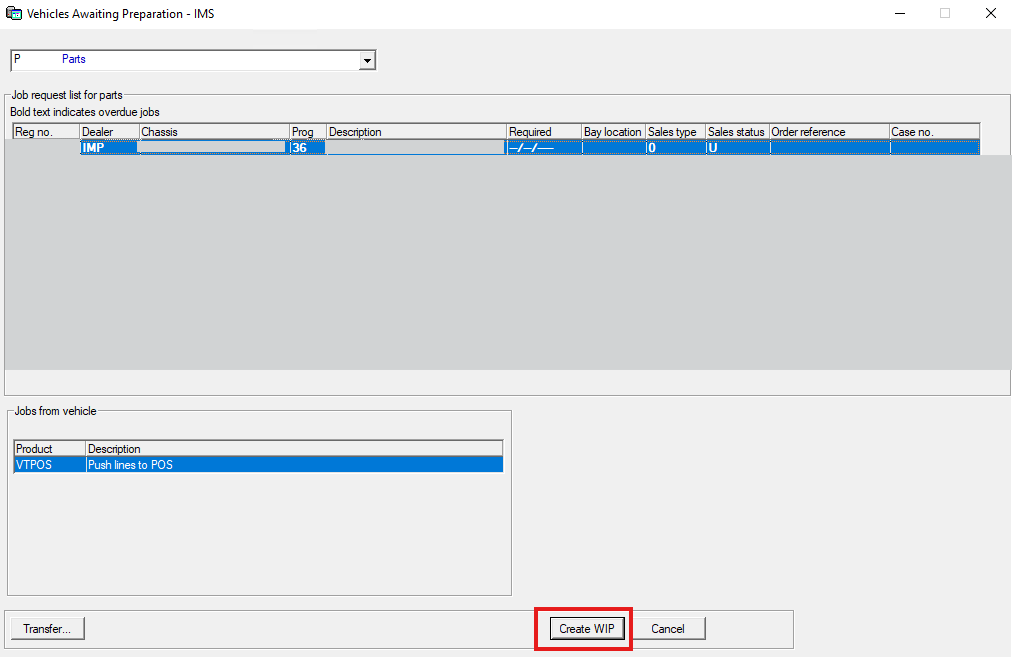
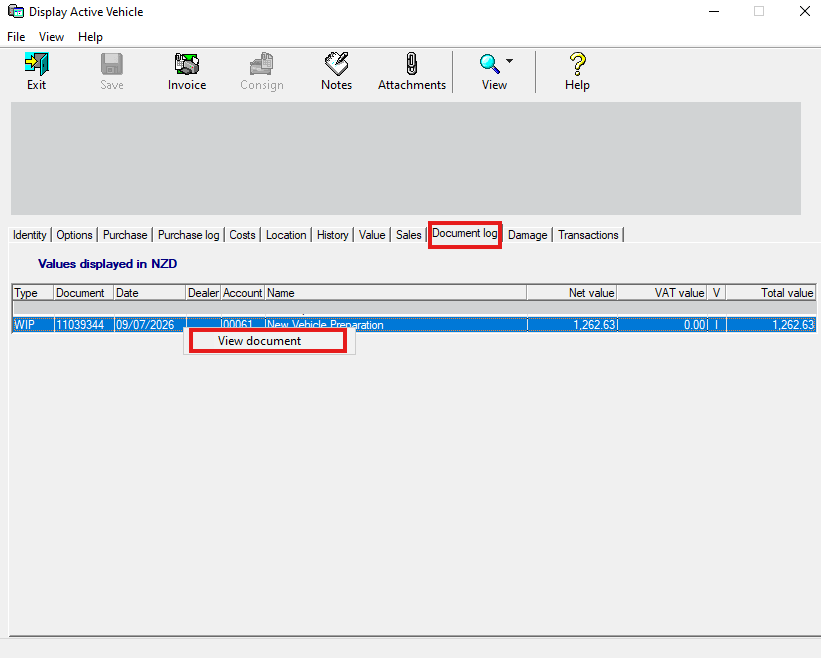
- Action the wip as usual and invoice or credit, this will create the appropriate line in purchase and document log which you can see on the vehicle in vehicle tracking.
Step 3: View the result in vehicle tracking
- Open the vehicle record.
- On the document log tab, you can right click on the WIP line, click on view document to pull up the invoice or credit.
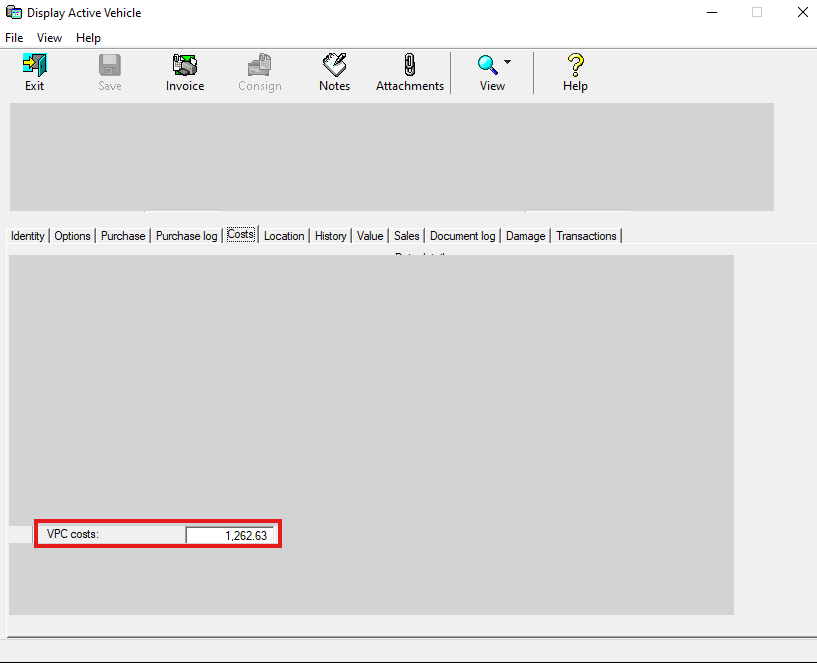
- Navigate to costs tab and you'll see it there too under VPC costs